If you would like to backup your Hashnode blog the simplest way is to use the Hashnode backups found in your blogs dashboard. I have outlined the steps below to accomplish this.
First you will need to install the GitHub CLI
brew install gh
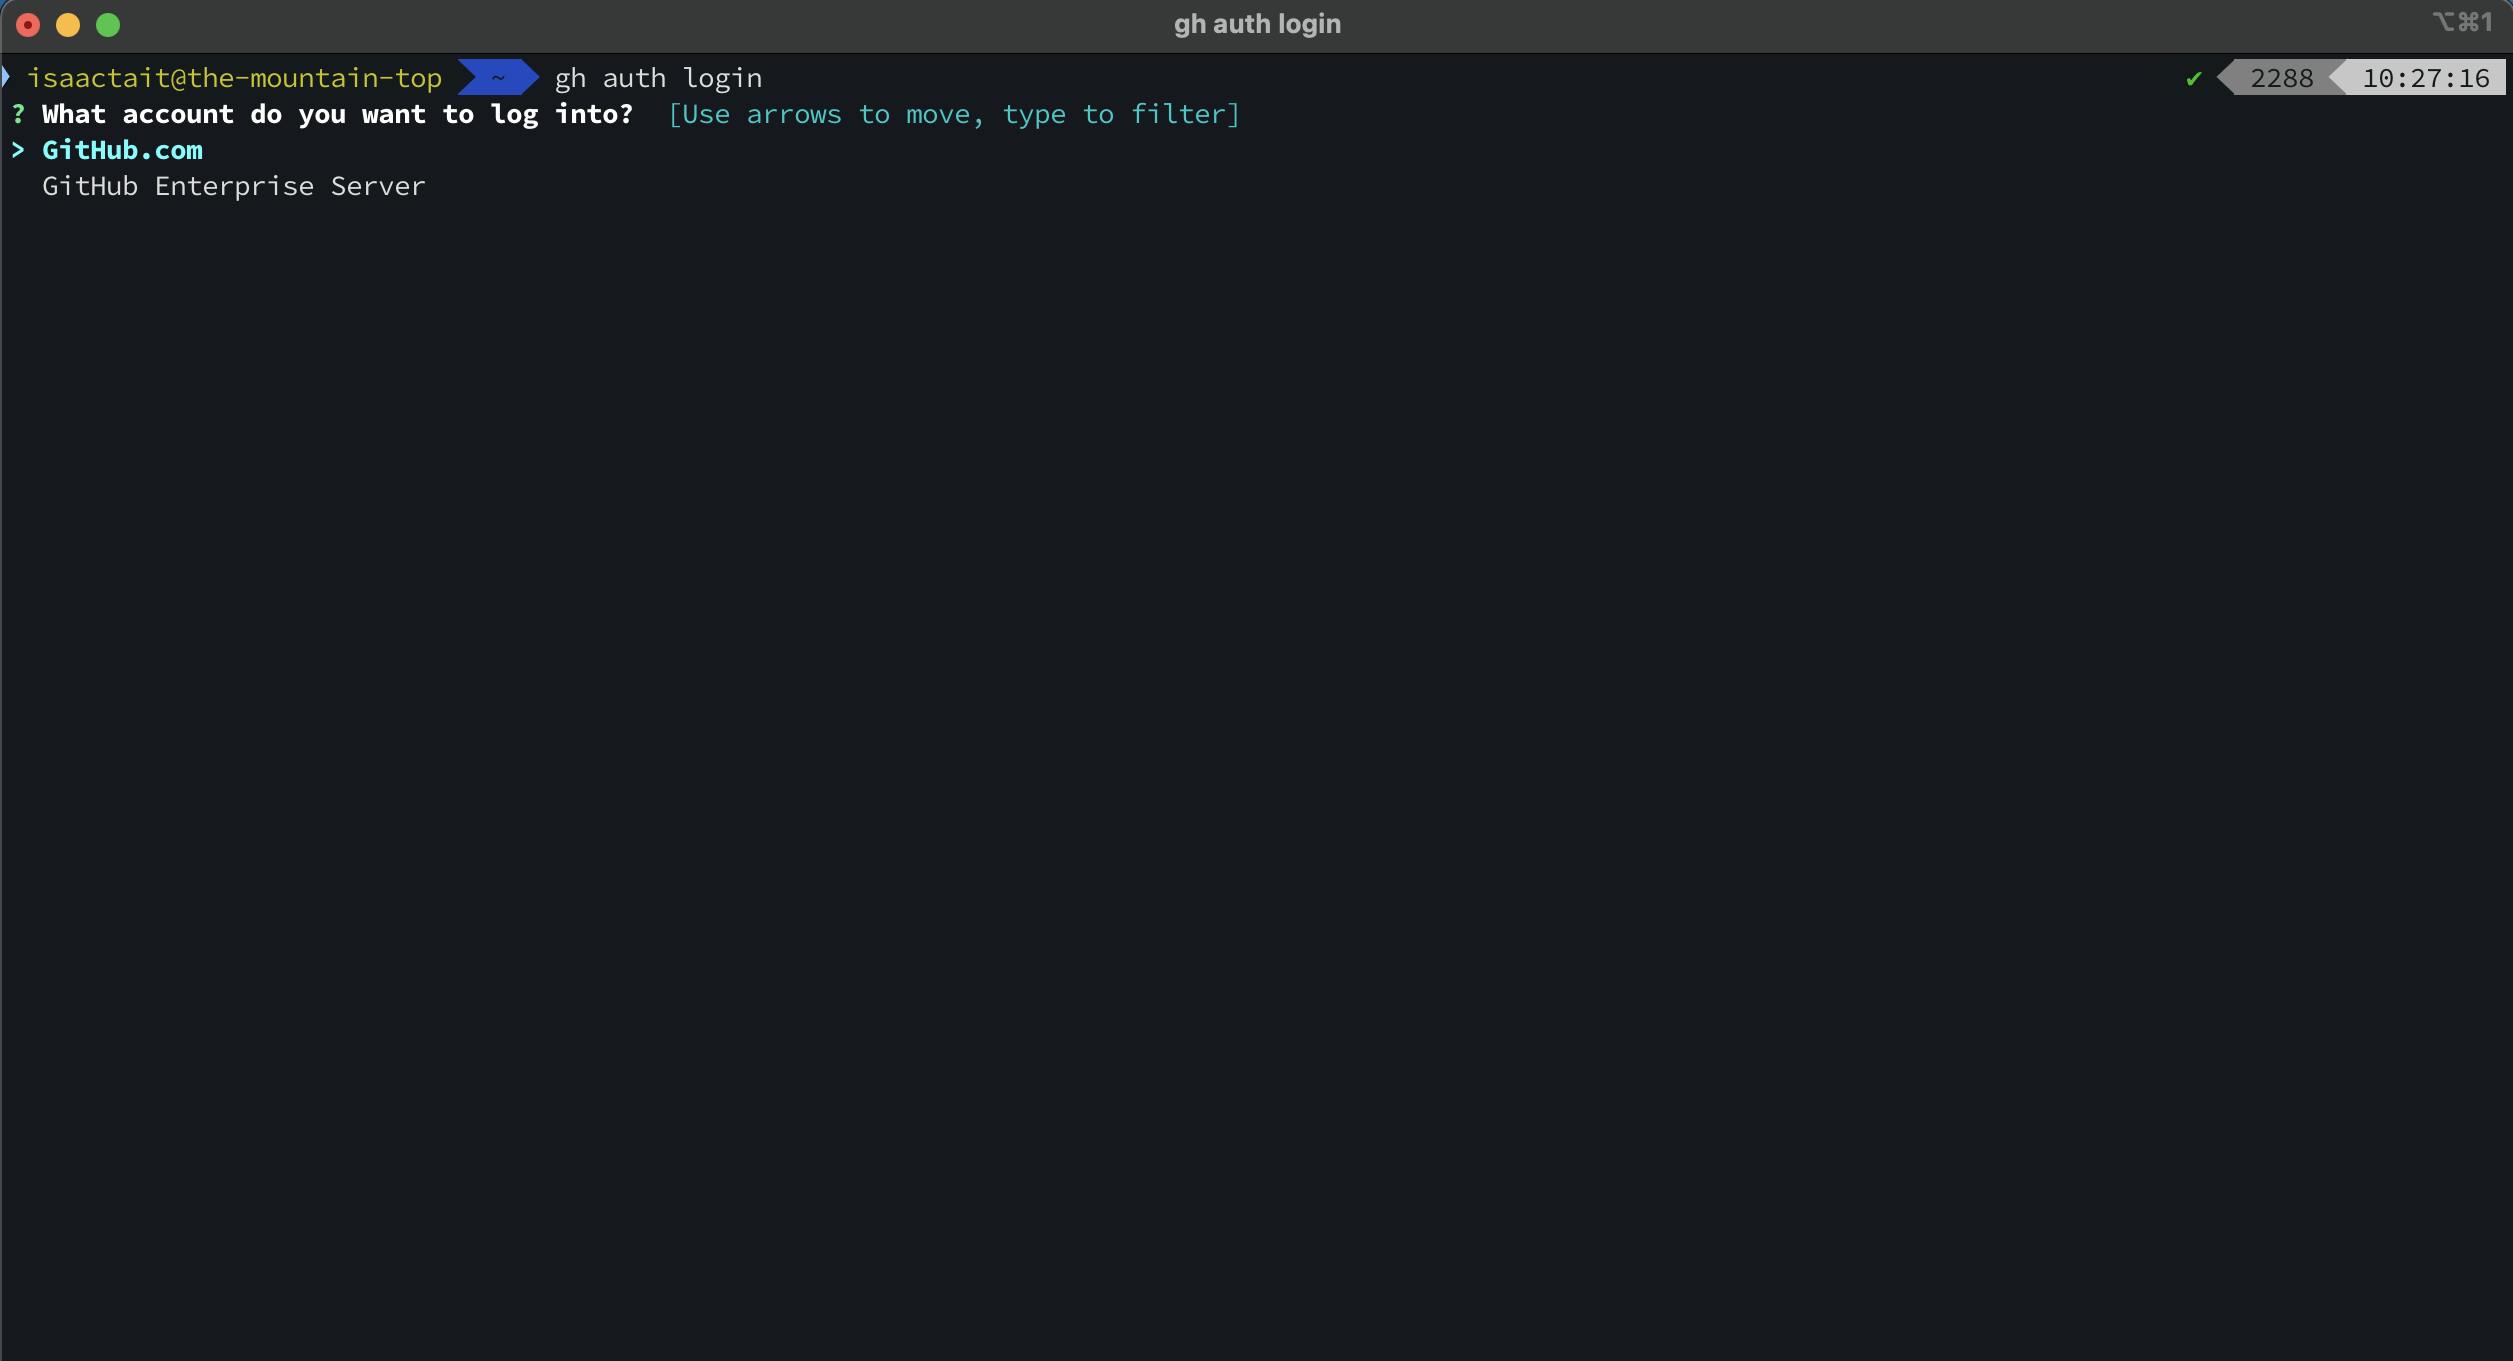
Then you will need to authenticate your GitHub account
gh auth login

I setup mine with GitHub.com.
Next you will need to create an empty repository for your backups
gh repo create hashnode-blog-backups
I set mine to private
Select y (for Yes) both times
Your repository
hashnode-blog-backups
is now up and running and ready to accept your backups!
For the last step you will need to navigate to the Hashnode dashboard and select Backup.
Click "Install Hashnode Backup".
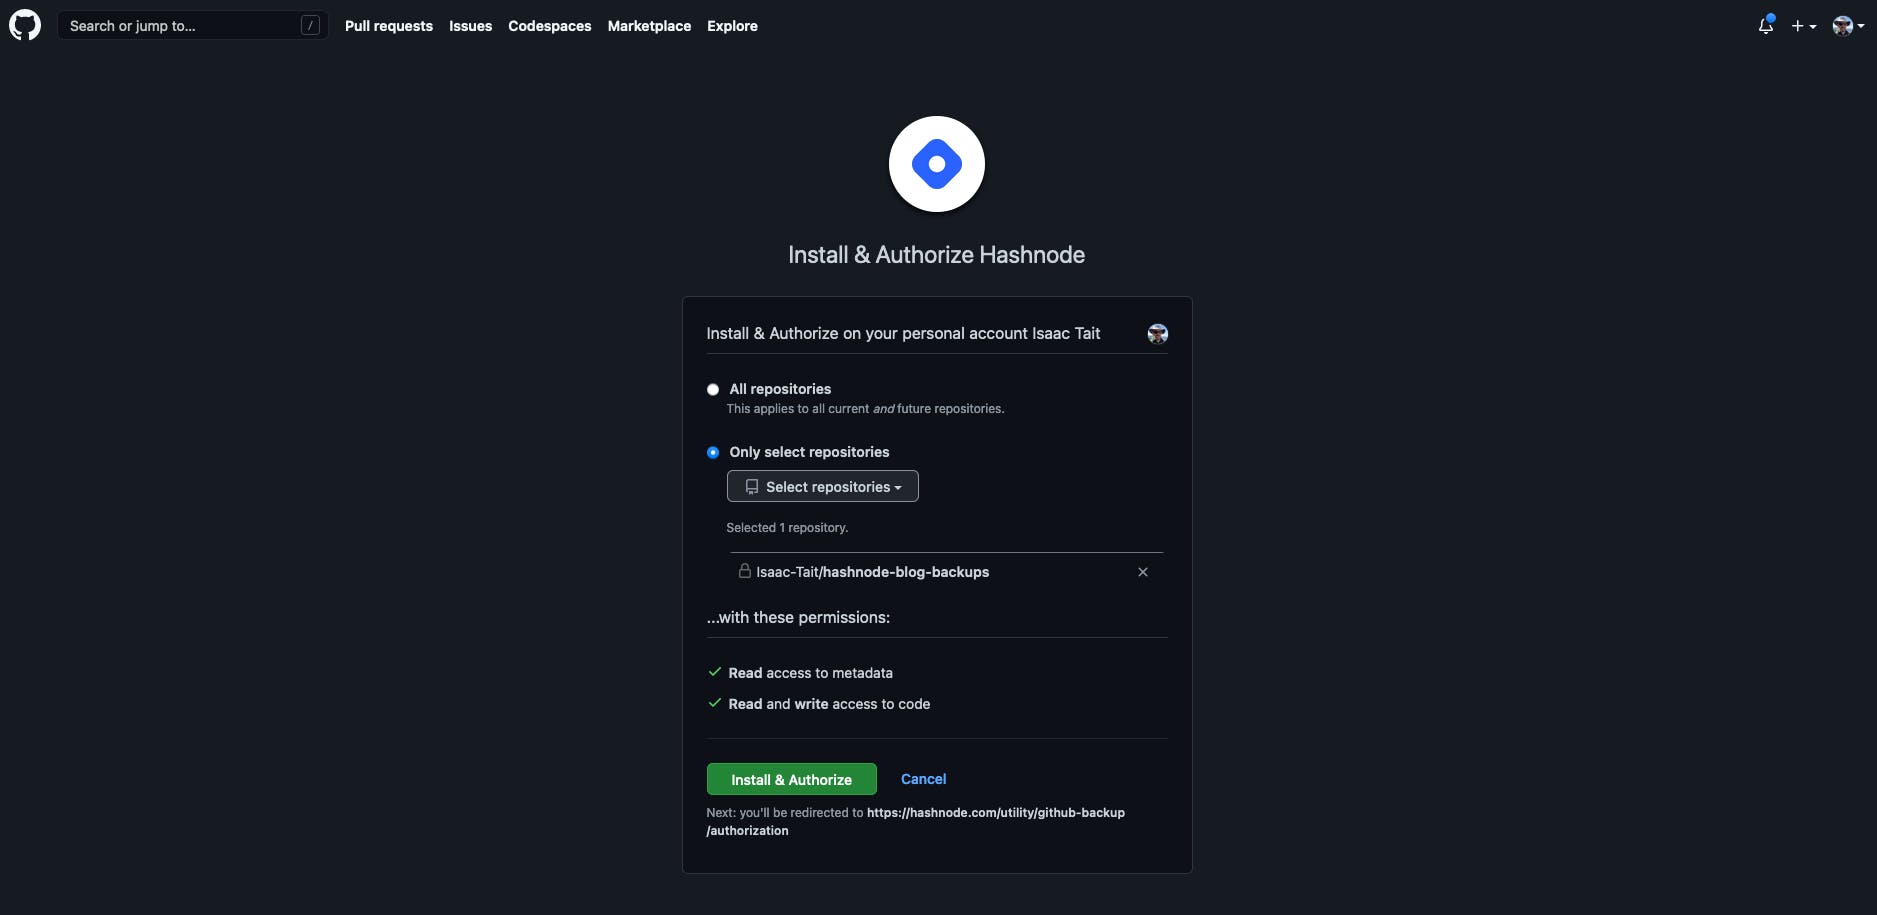
You will now be taken to a GitHub page to install and authorize Hashnode.
Be sure to select only the repo hashnode-blog-backup you just created.

Click Install and Authorize
Now whenever you publish a blog post it will automatically backup to the GitHub repo you just created.
If you already have written and published a few blog posts before enabling backups then you will need to follow these steps.
1) From the Hashnode Blog Dashboard select Posts then Edit post.
2) Click Save Post (Note: You will need to do this for every post you have already written and published).
This will trigger the Hashnode tool and save the blog posts to the repo you created using the GitHub CLI.
GitHub's CLI is a very powerful tool. You can read up on it here

